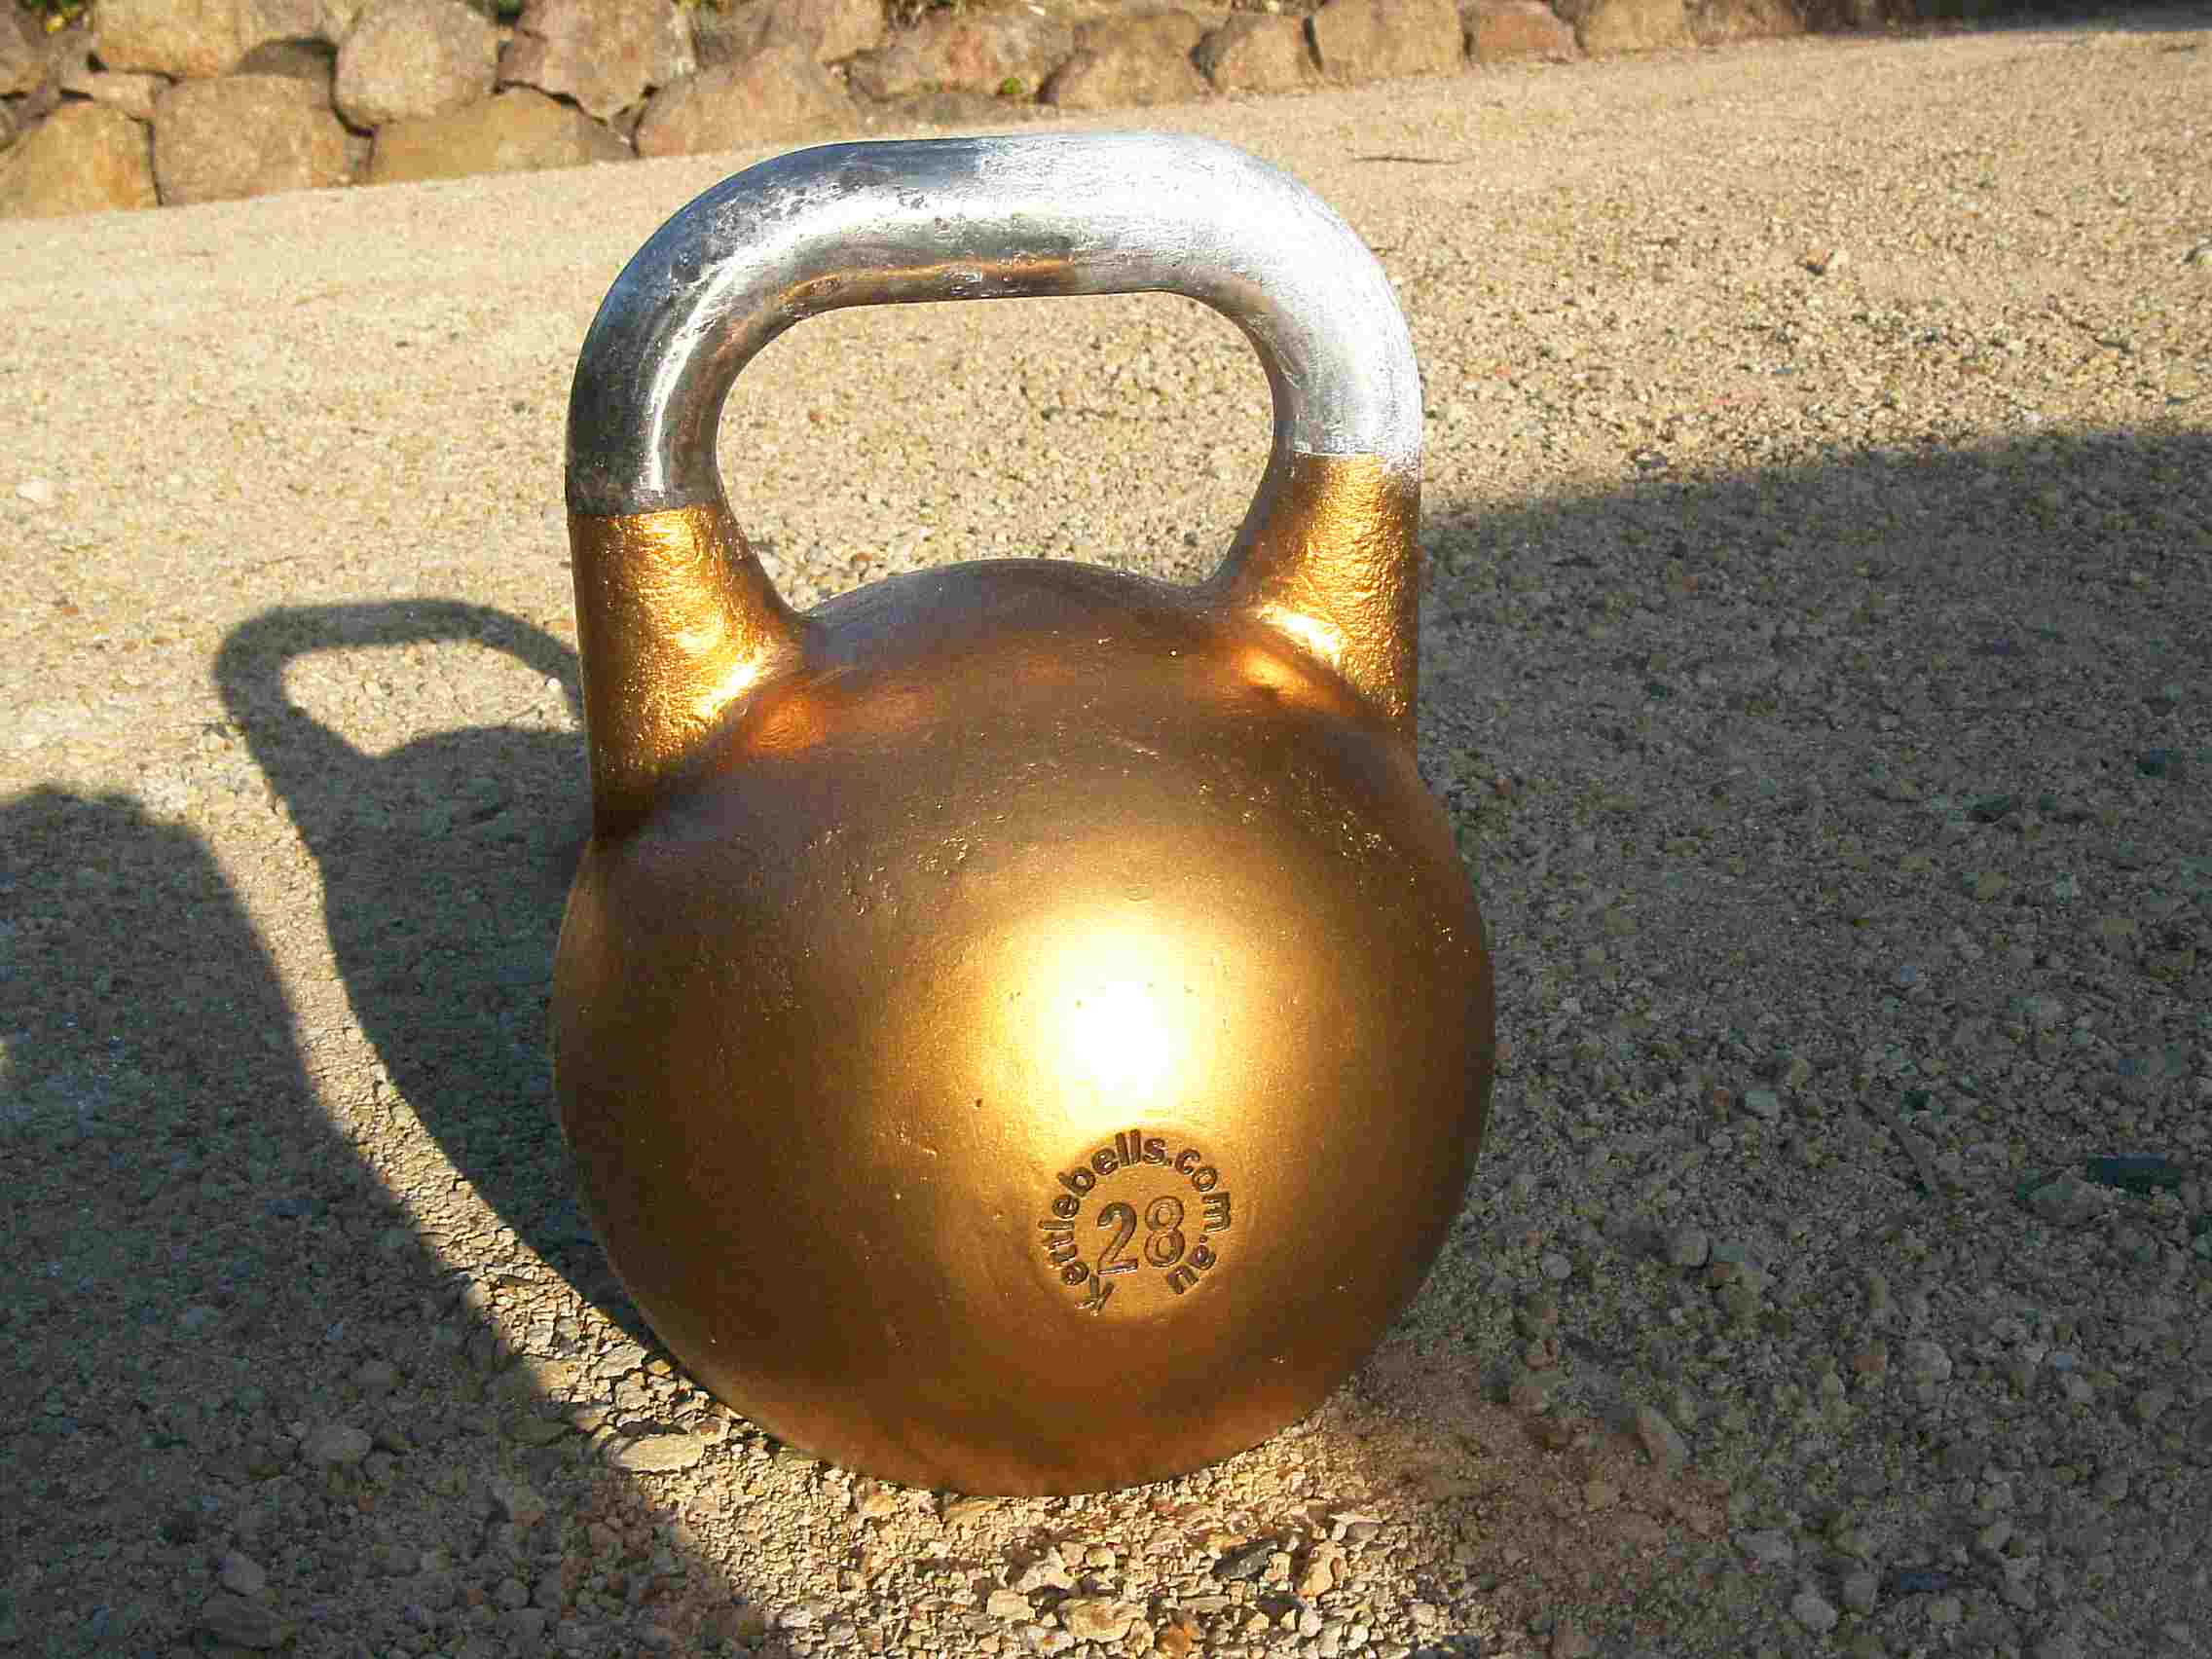
Whilst the pro-grade kettlebells
are inherently an excellent ergonomic design
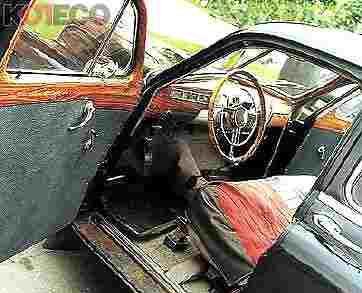
(certainly better than
the 1948 Russian Gaz shown above) , optimal results are obtained by using chalk
, which absorbs sweat and thus improves grip endurance. In this way it allows longer sets with resulting improved training
benefits , and is perfectly legal during competitions.
There is no doubt many callus
issues arise because the palm (not the fingers) tends to grip the unchalked bell as fatigue sets in. Also , very few bells
leave the foundry with smoothly finished handles. The latter requires labour (which adds to expense) or the use of spray putty
(also adding to expense and if you later strip the handle , doesn’t hold chalk well).
To get best mileage from the
pro-grade bells you need to do what the pros do! Strip the paint and smooth off the rough spots , especially under the handle
, at the angle where the arch meets the “horns”. Most men will have , or know someone with, the tools and ability to get this job done. Some females (possibly not sufficiently toughened by kettlebells)
might feel intimidated by the labour required , thus this is an appropriate time to use feminine charms on your manly
acquaintances.
The gear outlined costs a few
bucks but is good for at least 6-10 bells . And of course you can doctor your older style bells too. The process makes overhead
lifting safer; it is not “cheating” any more than a gymnast using chalk is cheating.
Preparation
Goggles (not sunglasses) and
gloves. Always. Work outdoors, use earmuffs to protect hearing when smoothing.
Stripping
Mask the lower part of the
horn with masking tape or insulating tape , and a cloth over the ball. Use spray stripper. It’s quick and economical.
I spray once , leave 15 mins , scrape off paint residue and repeat. The second time I use a damp cloth to remove the residue
, revealing bare metal albeit stained a bit with paint. Dry well.
Smoothing (see also
YouTube demo at bottom of page)
If you don't own or can't borrow
or are afraid to use power tools , elbow grease and sandpaper ( thin belts + loose sheets of coarse grade ) will get you there,
eventually.
For those who like time saving
devices (allowing more training) , for the bulk of the work I use a 115mm angle grinder (you can get ‘em for under $Au30
these days , fine for homehandyman use). Use a sanding (not grinding or cutting!)
disc attachment. 60 grit works well e.g.“Brumby” brand (try Bunnings , Mitre 10) costs about $Au7. You need to
be firm with control of the grinder, but possess a light touch on the handle
as gouging is not good. Do it at waist height outdoors, with the bell supported lying on it’s side, handle facing towards
you. For God’s sake don’t start a grass fire. Hold the grinder with 2 hands and pay special attention to the angle
of the handle. The disc will not reach under the arch thus you need to use a power drill flap sanding attachment, again 60
grit works well.. I stand the bell up and use firm upwards pressure to remove any ridges. From time to time take the glove
off and feel the finish. A few pits don’t matter, but ridges are a killer.
The drill sander is also used
to finish the outside of the handle.
Cleaning
Wash the sanding residue
off with a cloth dampened with methylated spirits (or leftover vodka). This cleans and dries the metal quickly. Swing/snatch
a couple of dozen times and repeat.
Repainting
The junction between painted
and unpainted sections of the bell gets a bit ragged. If you wish you can touch up the body of the bell or recolour to suit.
Killrust enamel spray paint goes on over bare metal so is a good choice. Spray putty will give you a base for a really smooth
finish if you like the Ferrari supercar look.
Bells will get chipped and
scratched whatever you do, especially in a communal gym and with 2 kb cleans & jerks. Don’t get emo over this. They
are tools after all.
Chalking
See link at top for Australian
supplier. Or you can buy it from climbing equipment stores/gyms , but quality varies. Buy the loose stuff , or at least empty
it out of the little scrotal bags they often sell it in. Generously rub the handle with chalk and work it in. Repeat until
there is an even white coating. Don’t leave lumps attached. Now repeat with plenty of chalk on your hands, especially
on fingers and thumbs. Often I wipe the excess off the palms as these can get caught on the chalk and will rip first. Catching
the bell with the fingers is skill which has to be learnt- but when mastered , chalk is the bees knees.
As a side note I find the steel used
on the pro bells is a little harder than the cast iron of the older bells. Smoothing the handle creates heat which may harden
the metal further. This makes it slightly harder to chalk the bell. The good aspect is that rust is less of a problem.
You can experiment with different
grades of sandpaper to leave tiny scratches which will hold chalk better. Experimenting is good. Also , every few sets the
residue of sweat and chalk will build up , so before long sets sand the gunk off (I usually use loose bits of sandpaper or
a thin sanding belt wrapped around the handle) , then wash with meth. spirits and rechalk. Happy days!
Competition organisers should provide sandpaper
, spirits and chalk.